giscus설치로 댓글창을 변경하자
ghost blog에 댓글 시스템을 giscus 로 변경할 수 있습니다.

ghost 댓글 시스템
ghost의 기본 댓글 기능은 가입 이메일을 제공한 사람들만 사용할 수 있어서,
매우불편합니다. 그래서 giscus를 설치해서 변경하도록 하겠습니다.
giscus 소개

giscus는 깃허브 리파지토리의 디스커션(Discussion)을 이용한 댓글 시스템입니다. GitHub 로그인을 해야만 댓글을 쓸 수 있습니다. 요즘 개발한다고 다들 Github 아이디는 1개쯤 있을 듯합니다.
- giscus: https://giscus.app/ko
giscus 설치
- 본인의 깃헙에 리파지토리를 만듭니다.
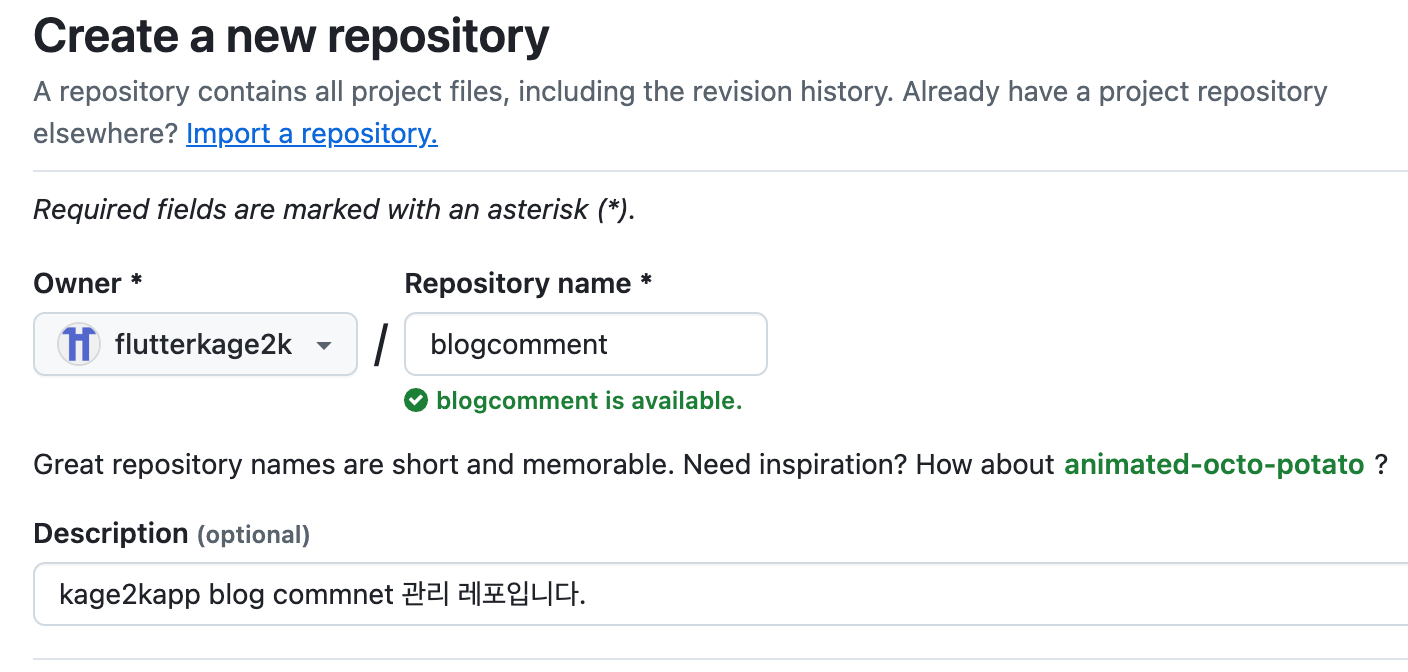
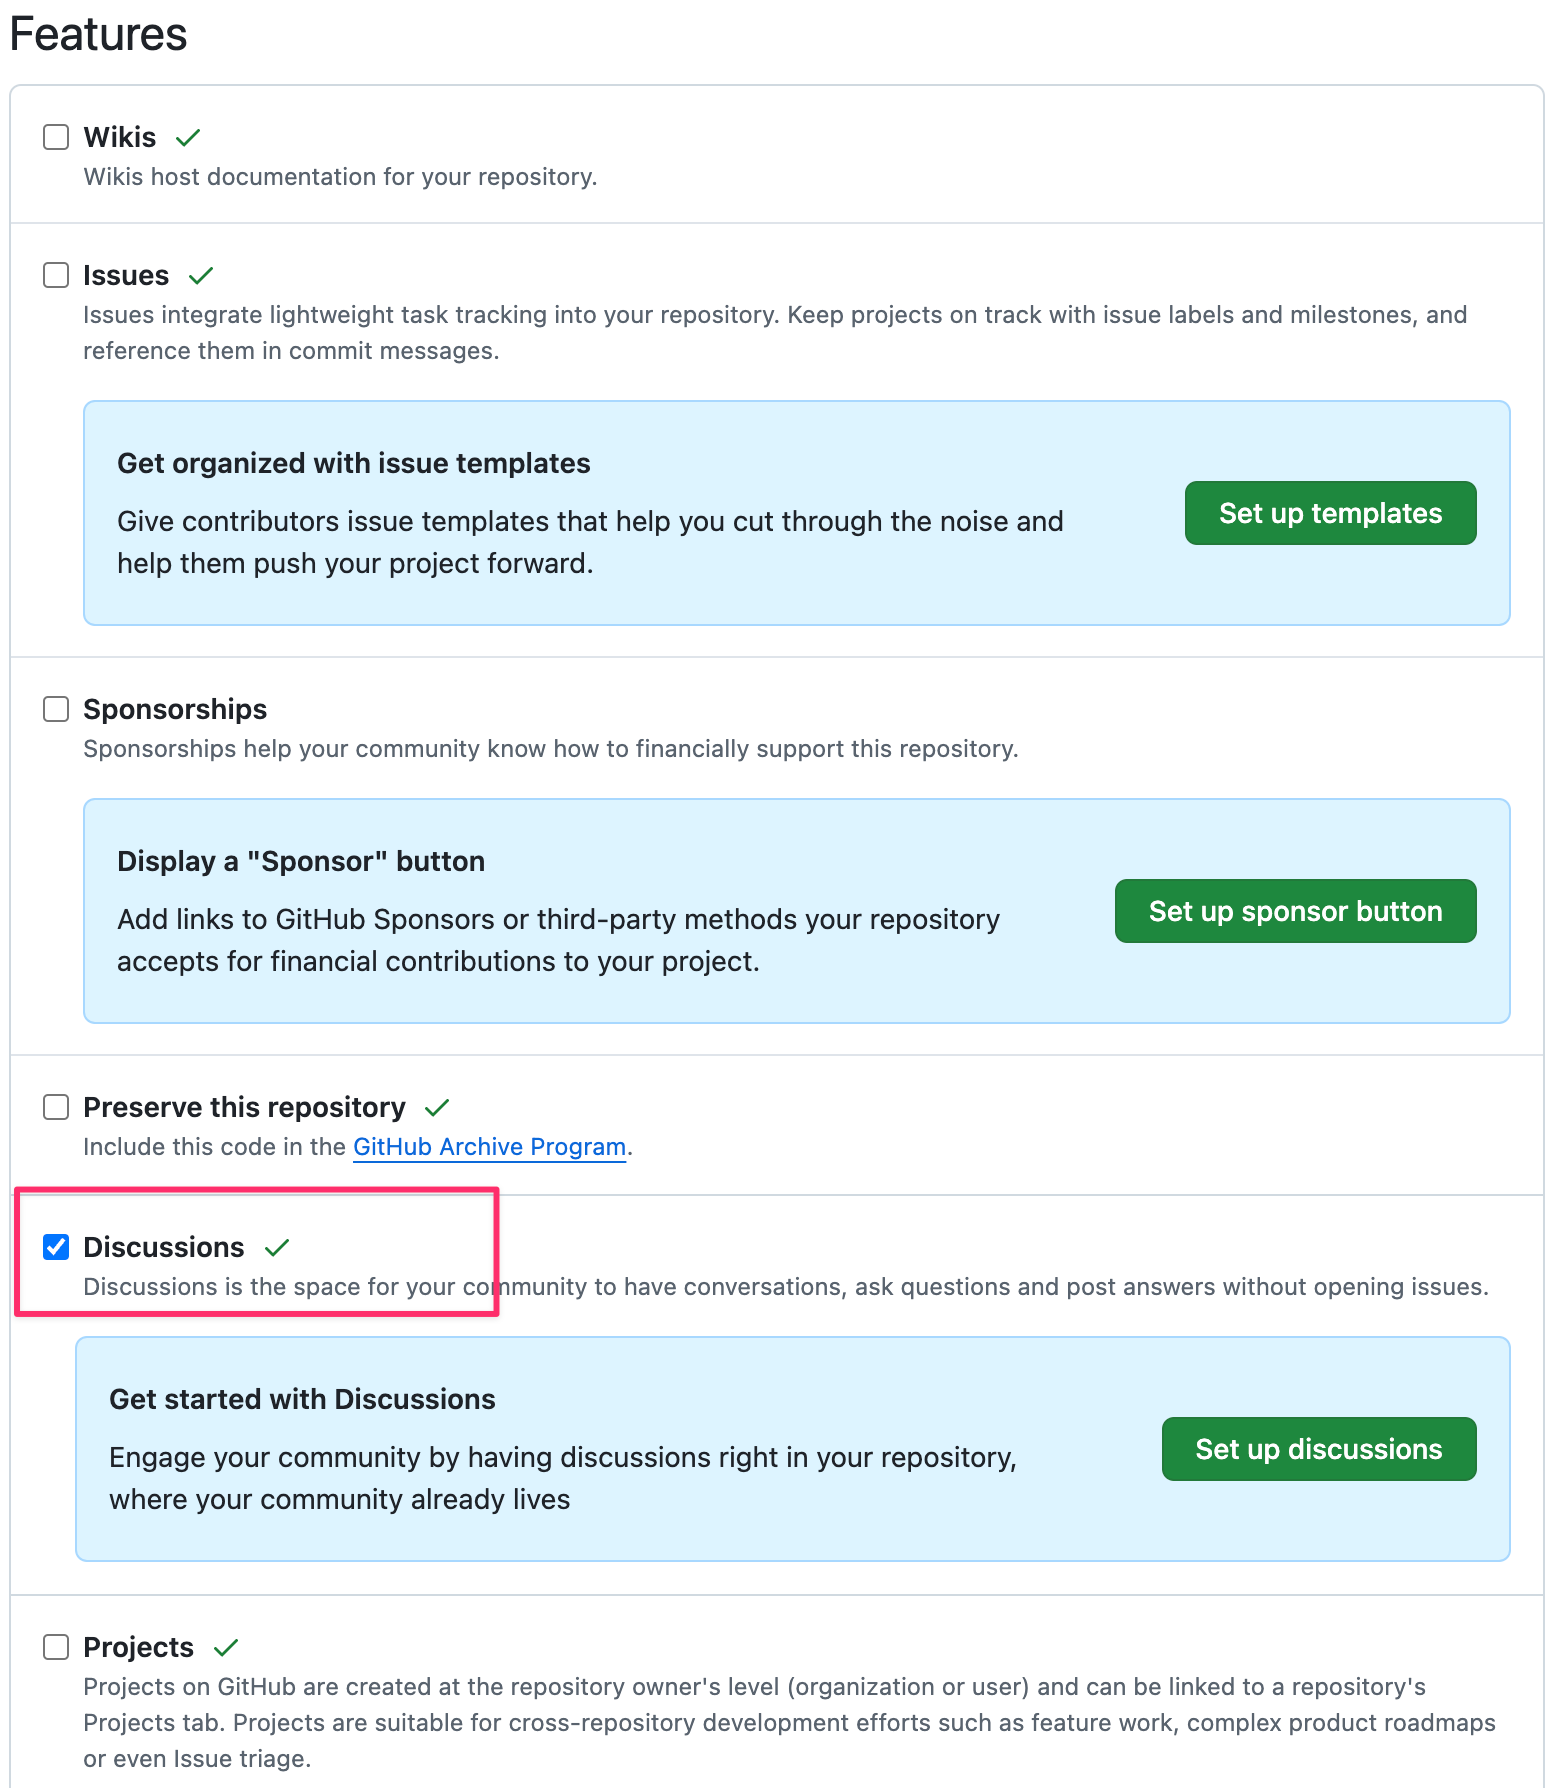
- 세팅으로 가서 아래의 그림과 같이 세팅합니다.
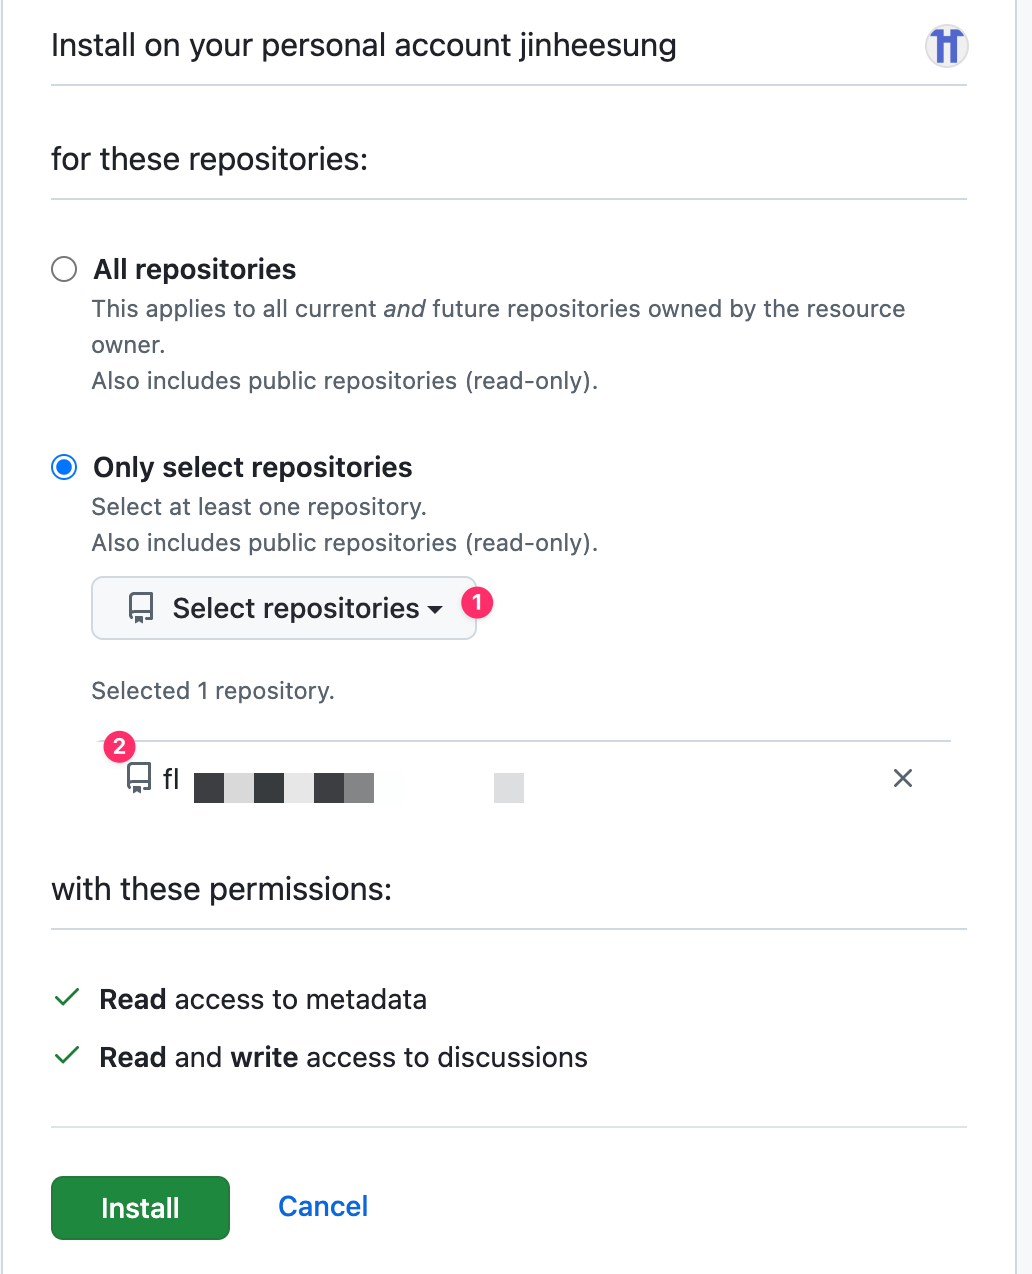
- https://github.com/apps/giscus
으로 이동해서 Install 버튼을 눌러 설치합니다.
- 설치를 끝낸 뒤에는
https://giscus.app/ko
으로 이동합니다.


아래의 소스코드가 나오게 됩니다. 제 경우 다른 분꺼 조금 변경하였습니다
<!-- giscus -->
<script>
  (function () {
    if (location.pathname === '/') {
      return;
    }

    const siteMain = document.getElementsByClassName('site-main')[0];
    if (siteMain) {
      const divTagWithStyle = document.createElement('div');
      divTagWithStyle.classList.add('gh-content');
      divTagWithStyle.classList.add('gh-canvas');
      siteMain.appendChild(divTagWithStyle);

      const scriptTag = document.createElement('script');
      scriptTag.setAttribute('src', 'https://giscus.app/client.js');
      scriptTag.setAttribute('data-repo', 'flutterkage2k/blogcomment');
      scriptTag.setAttribute('data-repo-id', '[ENTER REPO ID HERE]');
      scriptTag.setAttribute('data-category', 'Announcements');
      scriptTag.setAttribute('data-category-id', [ENTER CATEGORY ID HERE]);
      scriptTag.setAttribute('data-mapping', 'pathname');
      scriptTag.setAttribute('data-strict', '1');
      scriptTag.setAttribute('data-reactions-enabled', '1');
      scriptTag.setAttribute('data-emit-metadata', '0');
      scriptTag.setAttribute('data-input-position', 'top');
      scriptTag.setAttribute('data-theme', 'preferred_color_scheme');
      scriptTag.setAttribute('data-lang', 'ko');
      scriptTag.setAttribute('data-loading', 'lazy');
      scriptTag.setAttribute('crossorigin', 'anonymous');
      scriptTag.setAttribute('async', '');
      divTagWithStyle.appendChild(scriptTag);
    }
  })();
</script>
중간에 Enter ~~ 부분은 변경해야합니다.
이제 해당 코드를 post.hbs 에 수정해야합니다.
- 본인이 사용하는 theme에 post.hbs를 editor 열어줍니다.
{{#if comments}}
    <section class="article-comments gh-canvas">
        {{comments}}
    </section>
{{/if}}
부분을 찾아서 지워줍니다.
5에서 확인된 부분을 지우고 4에서 만든 스크립트를 붙여넣기 합니다.
- 저장을 한뒤에 ghost 도커를 재부팅합니다.
- 그리고 확인하면 됩니다.
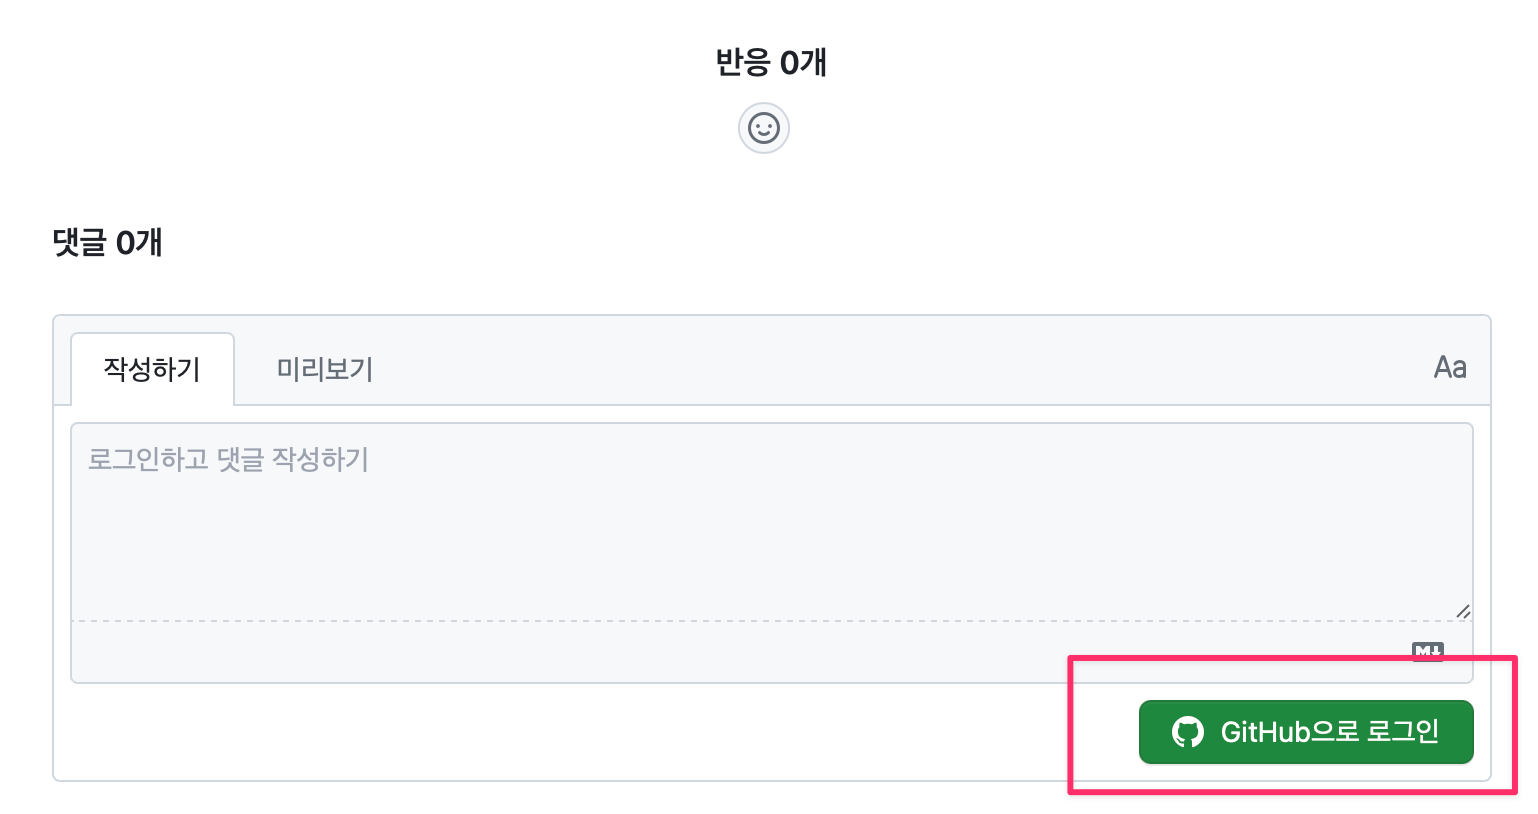
이처럼, Github에 로그인을 하면 댓글을 작성할 수 있습니다.